A driver can start the respective trip within 1 hour of the pick up time mentioned in that trip.
To Start a Trip, follow the steps mentioned below,
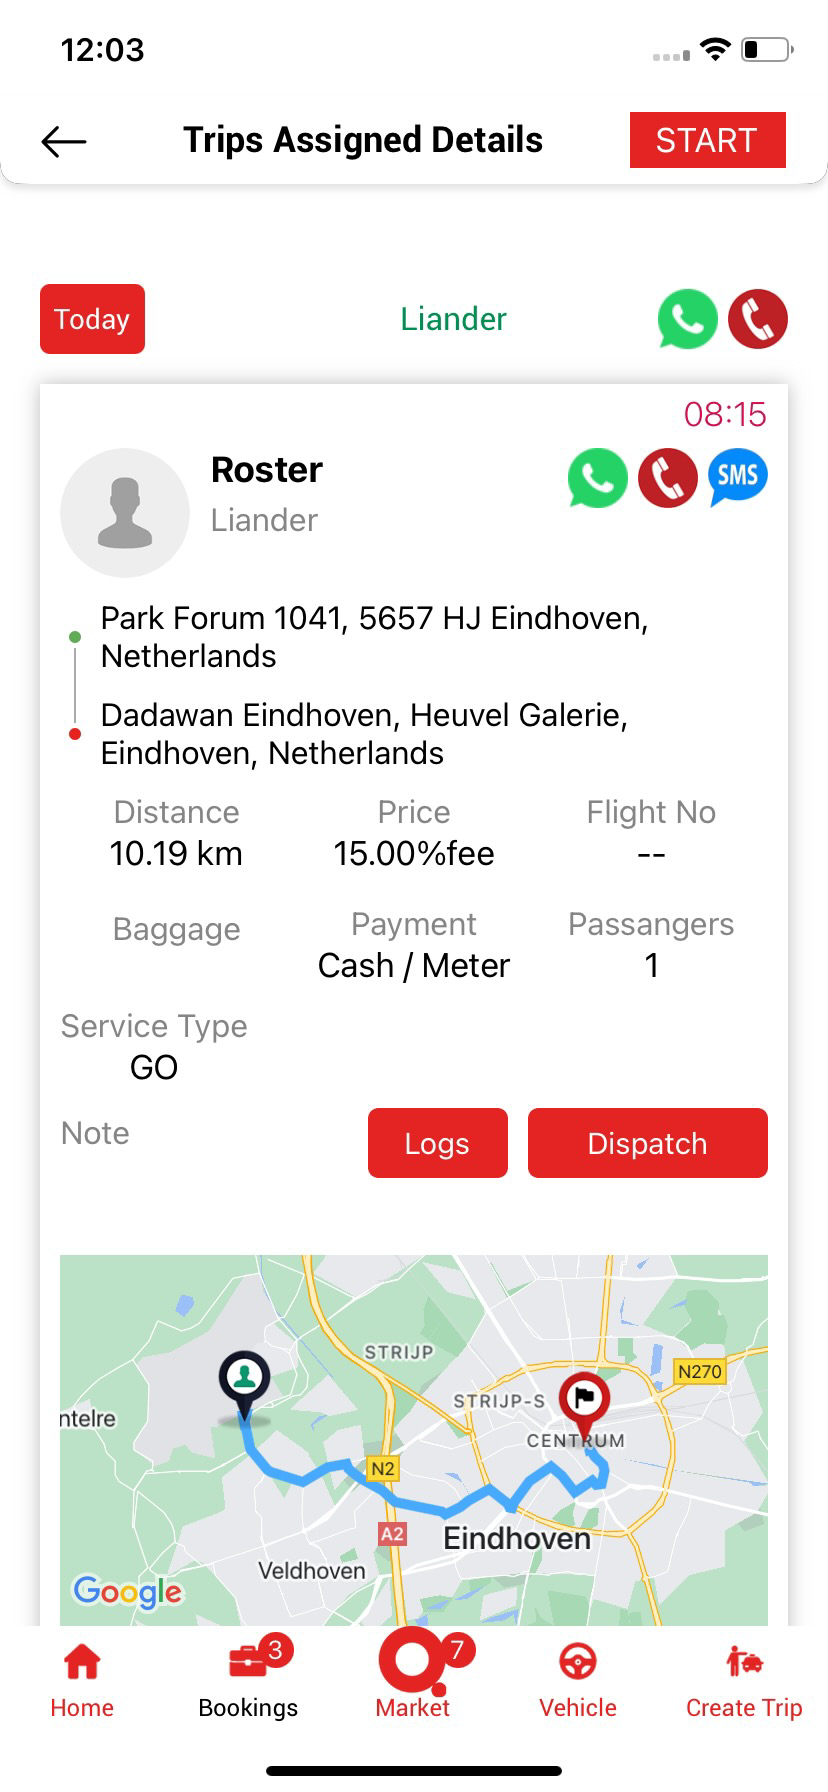
Find the trip from the Pending or Upcoming sections and click on the trip details box.
At the top right corner, you can see the Start button. Click on that to start the trip to reach the pickup location.
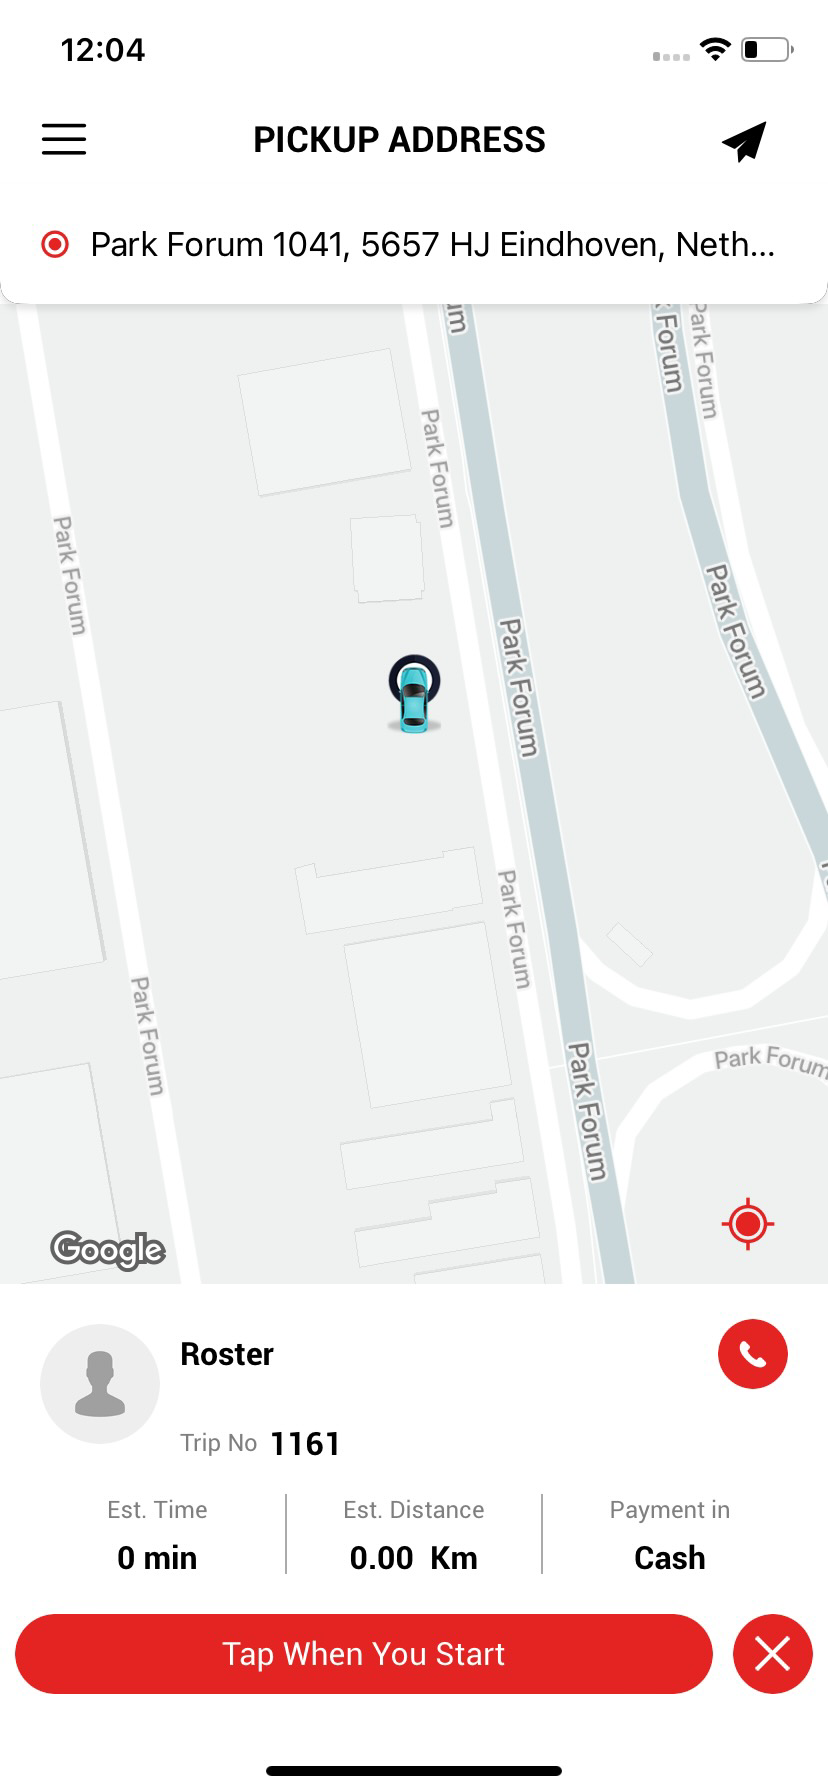
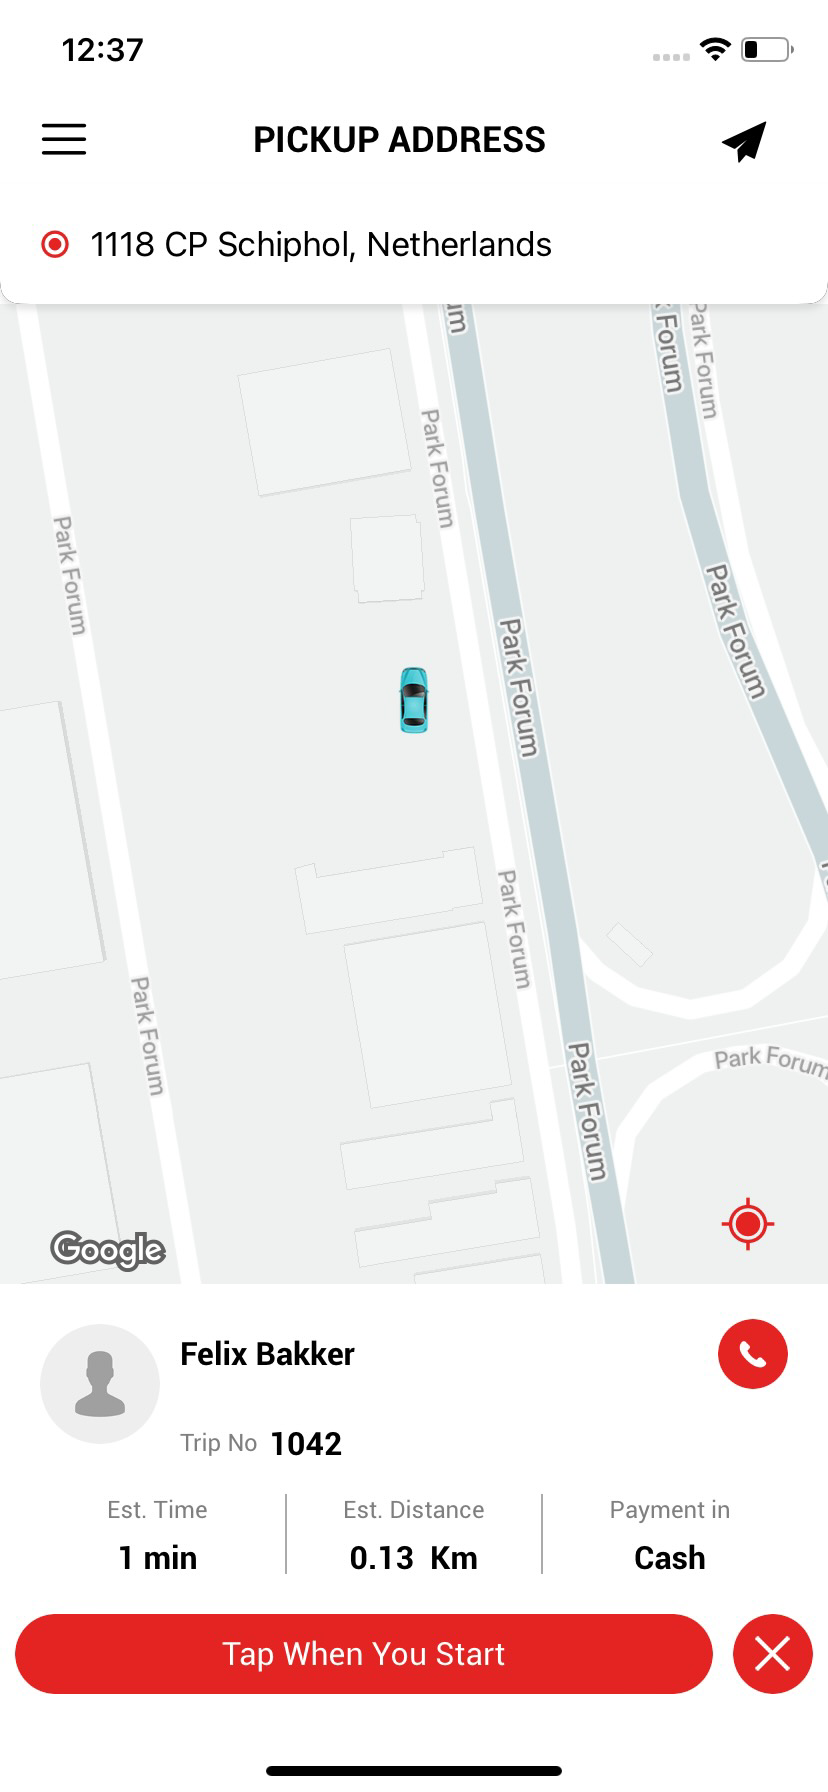
After that, you can see a Pickup Address screen with the following details,
The Pickup Location’s full address is on the top center of the page.
The top right corner has a button to show the exact address on Google Maps or other map applications.
A Map with the exact locations of the driver, pickup location of the passenger, and destination location.
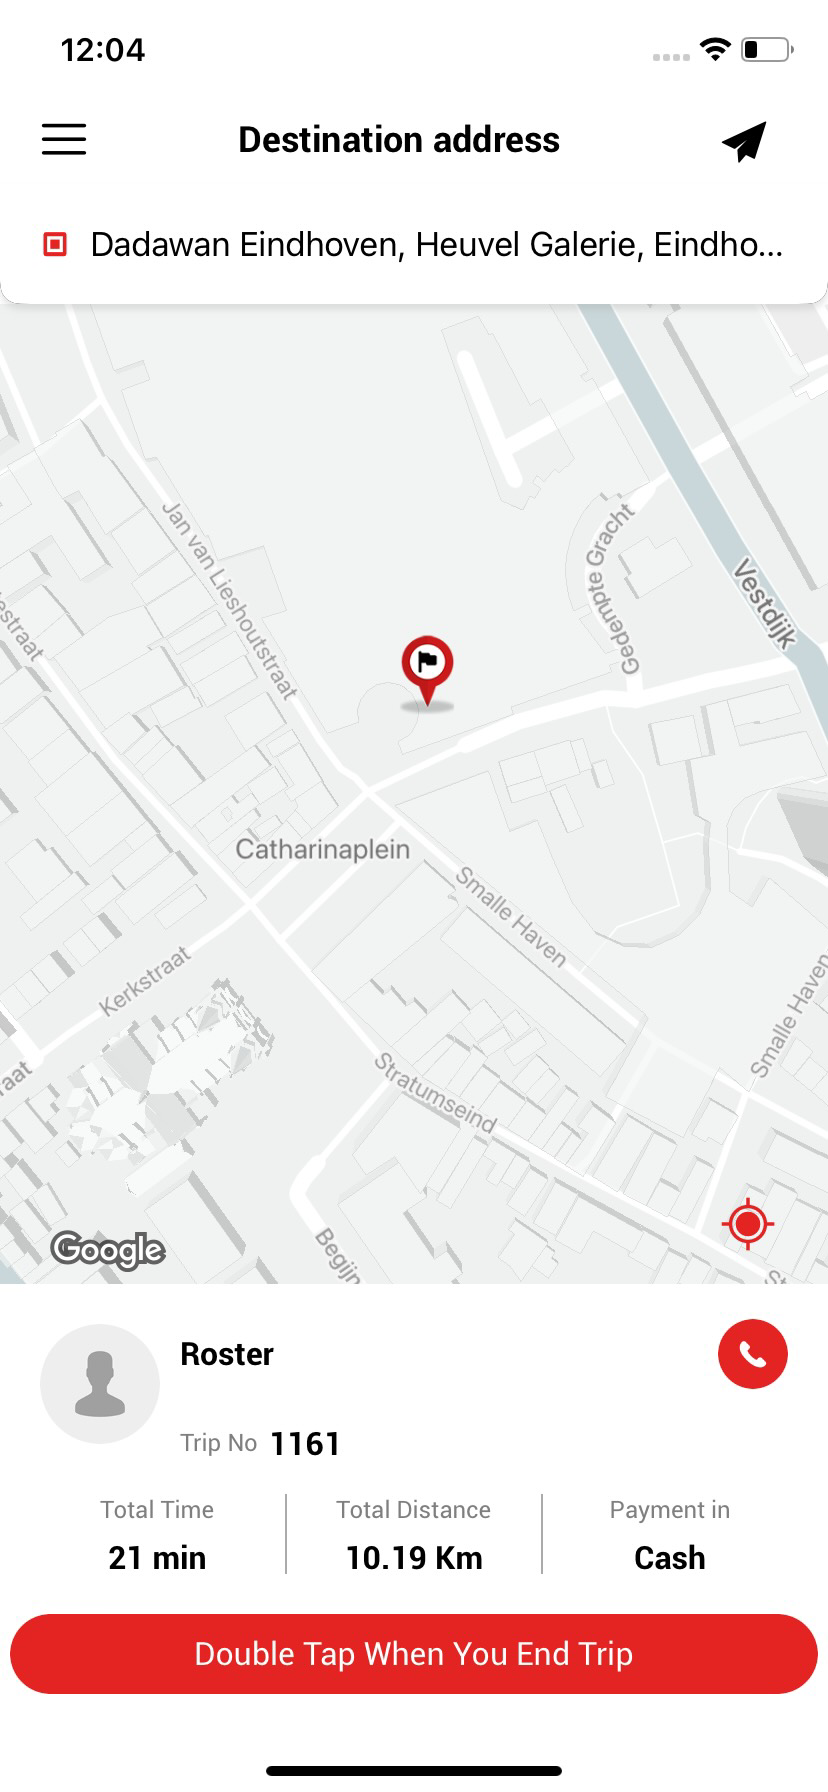
Below the map is a box with trip details like Passenger Name, Trip ID, Call button (passenger), Estimate Time, Estimate Distance, Payment Method, and two buttons, i.e., Tap When You Start and Cross button, to close that trip.
Click on Tap When You Start button to start the trip.
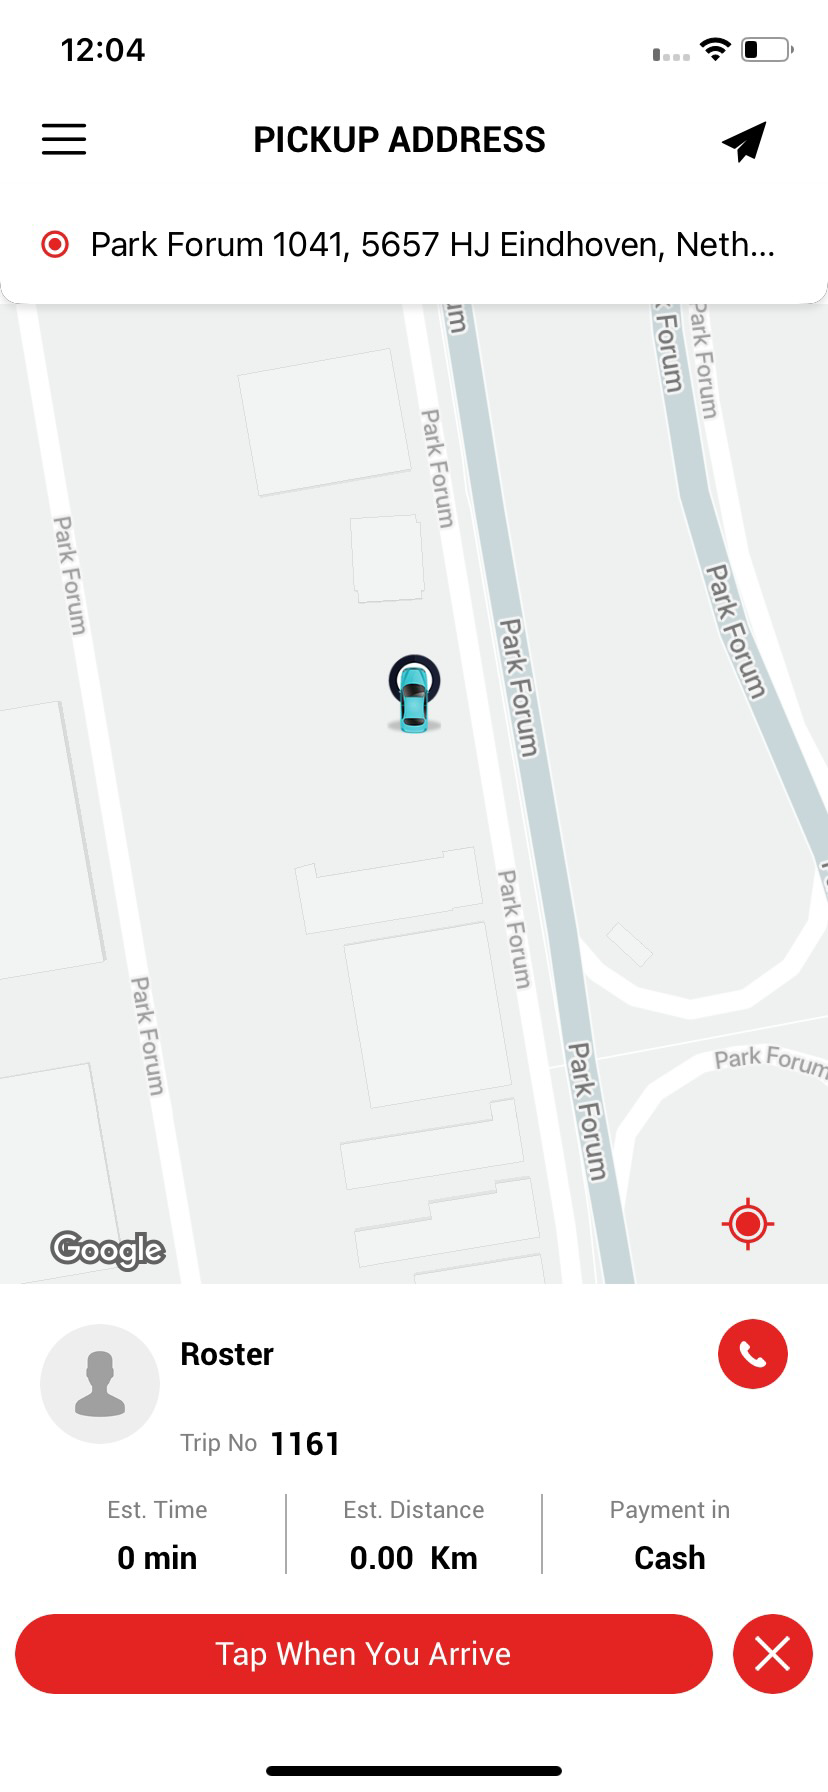
After that, you can see the same screen with the Tap When You Arrive button.
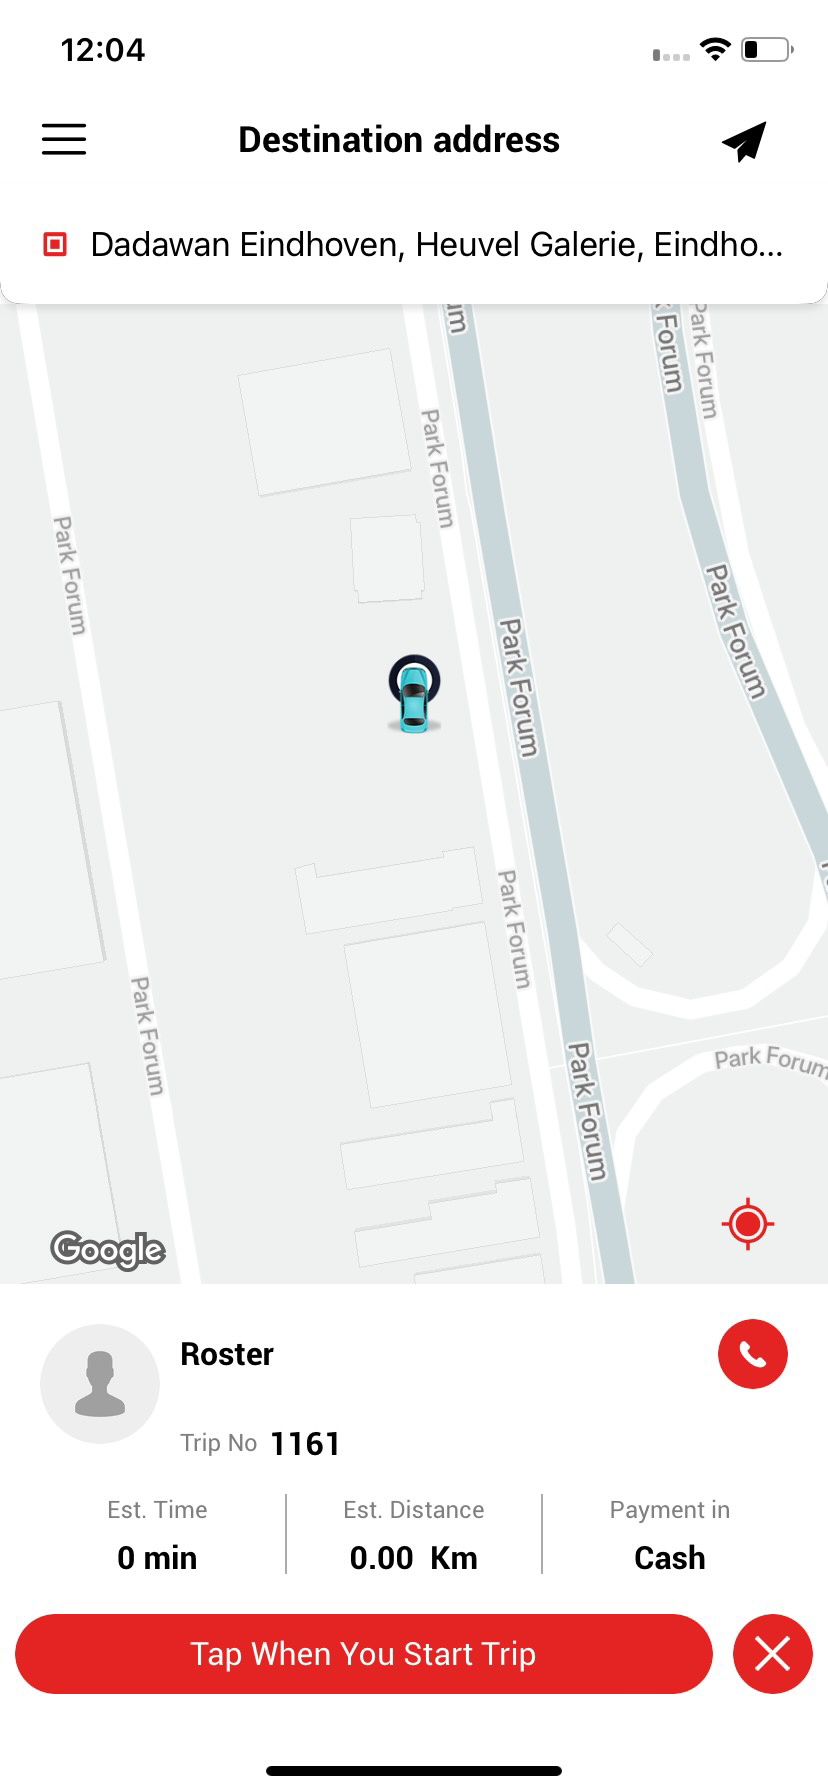
Then if you meet the passenger and want to continue, you can click the Tap When You Start Trip button.
In between the journey, the map will show the route. Also, you can click on the top right corner button to see Google Maps.
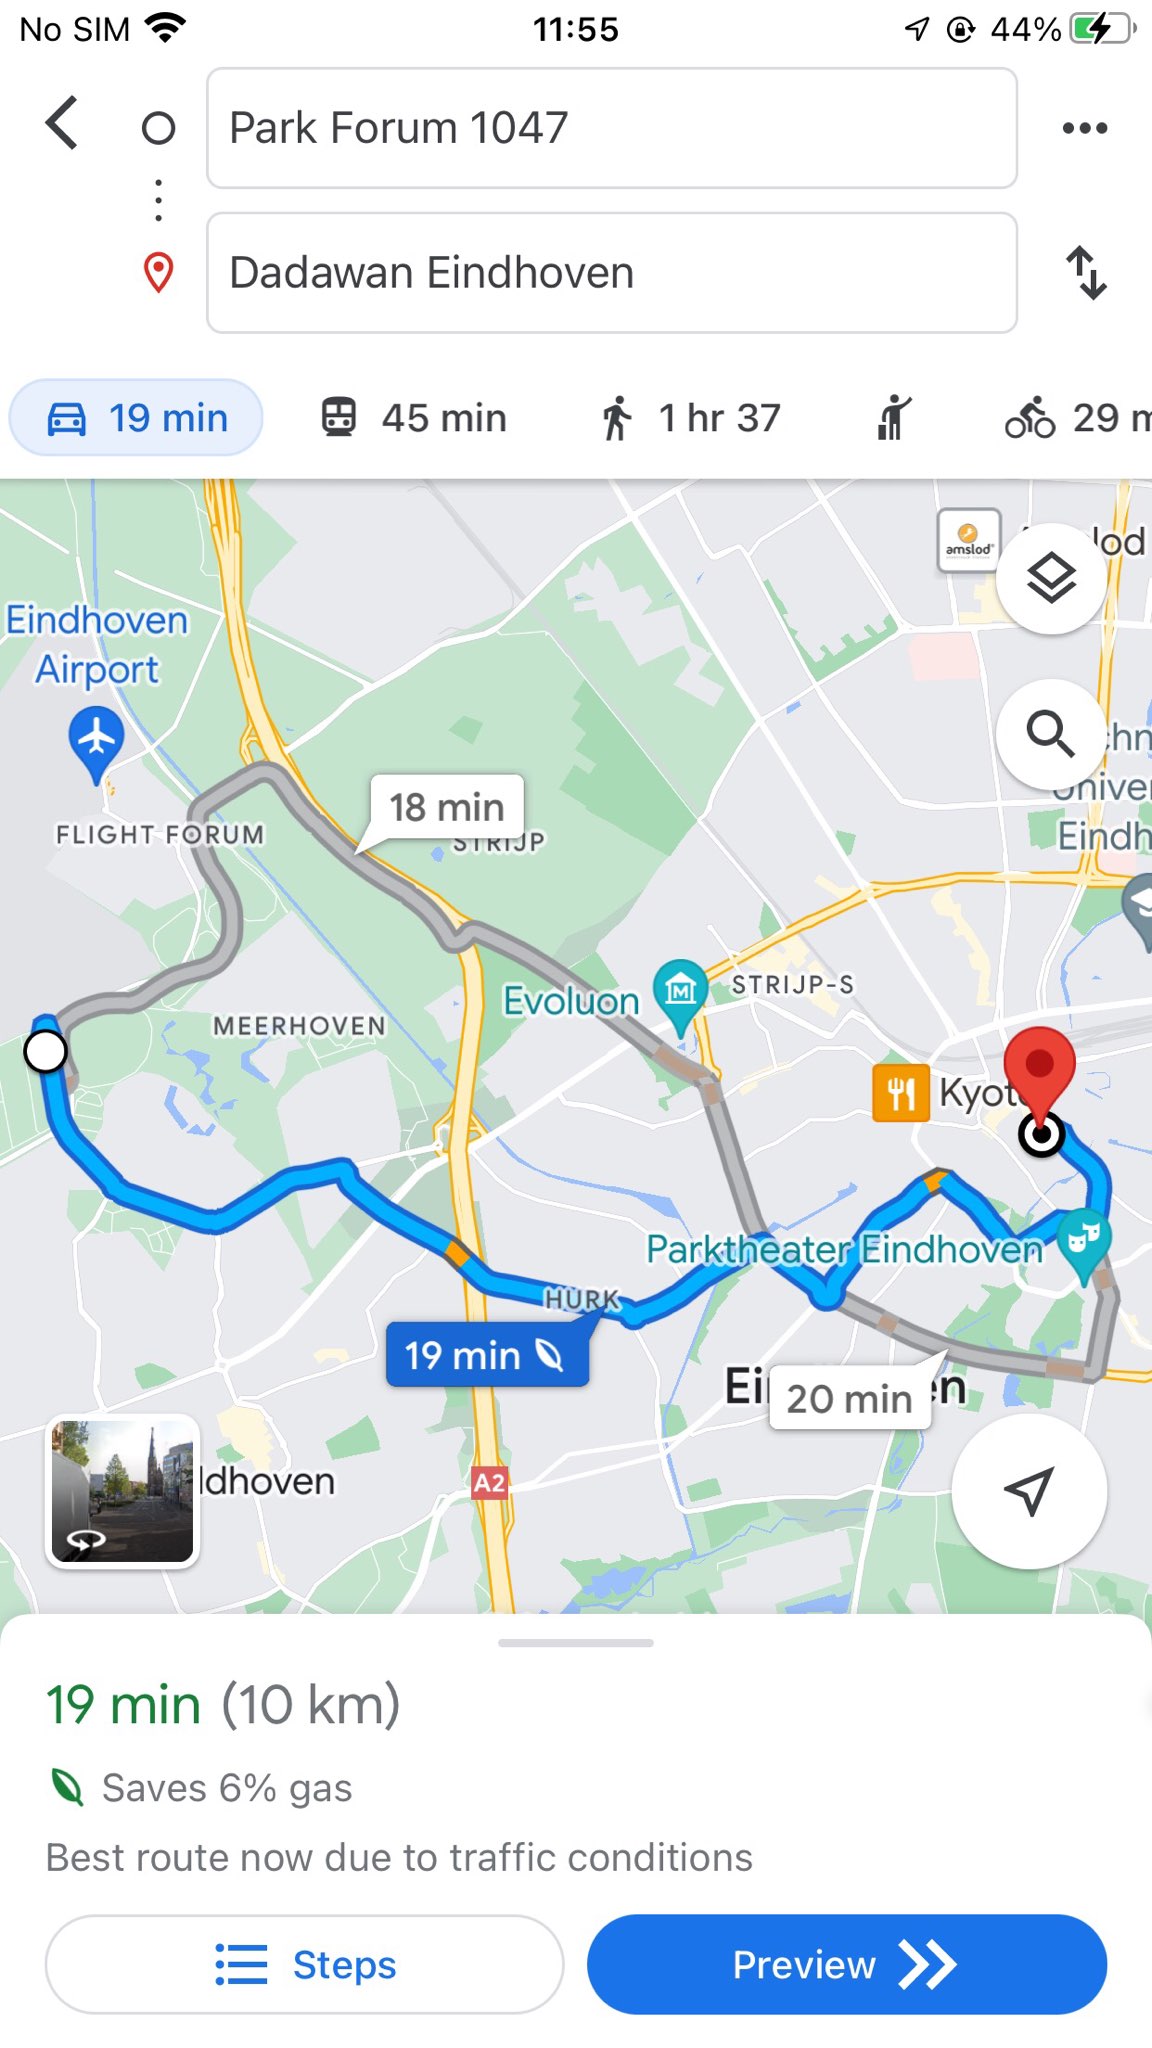
You can use Google Maps to find directions to the destination.
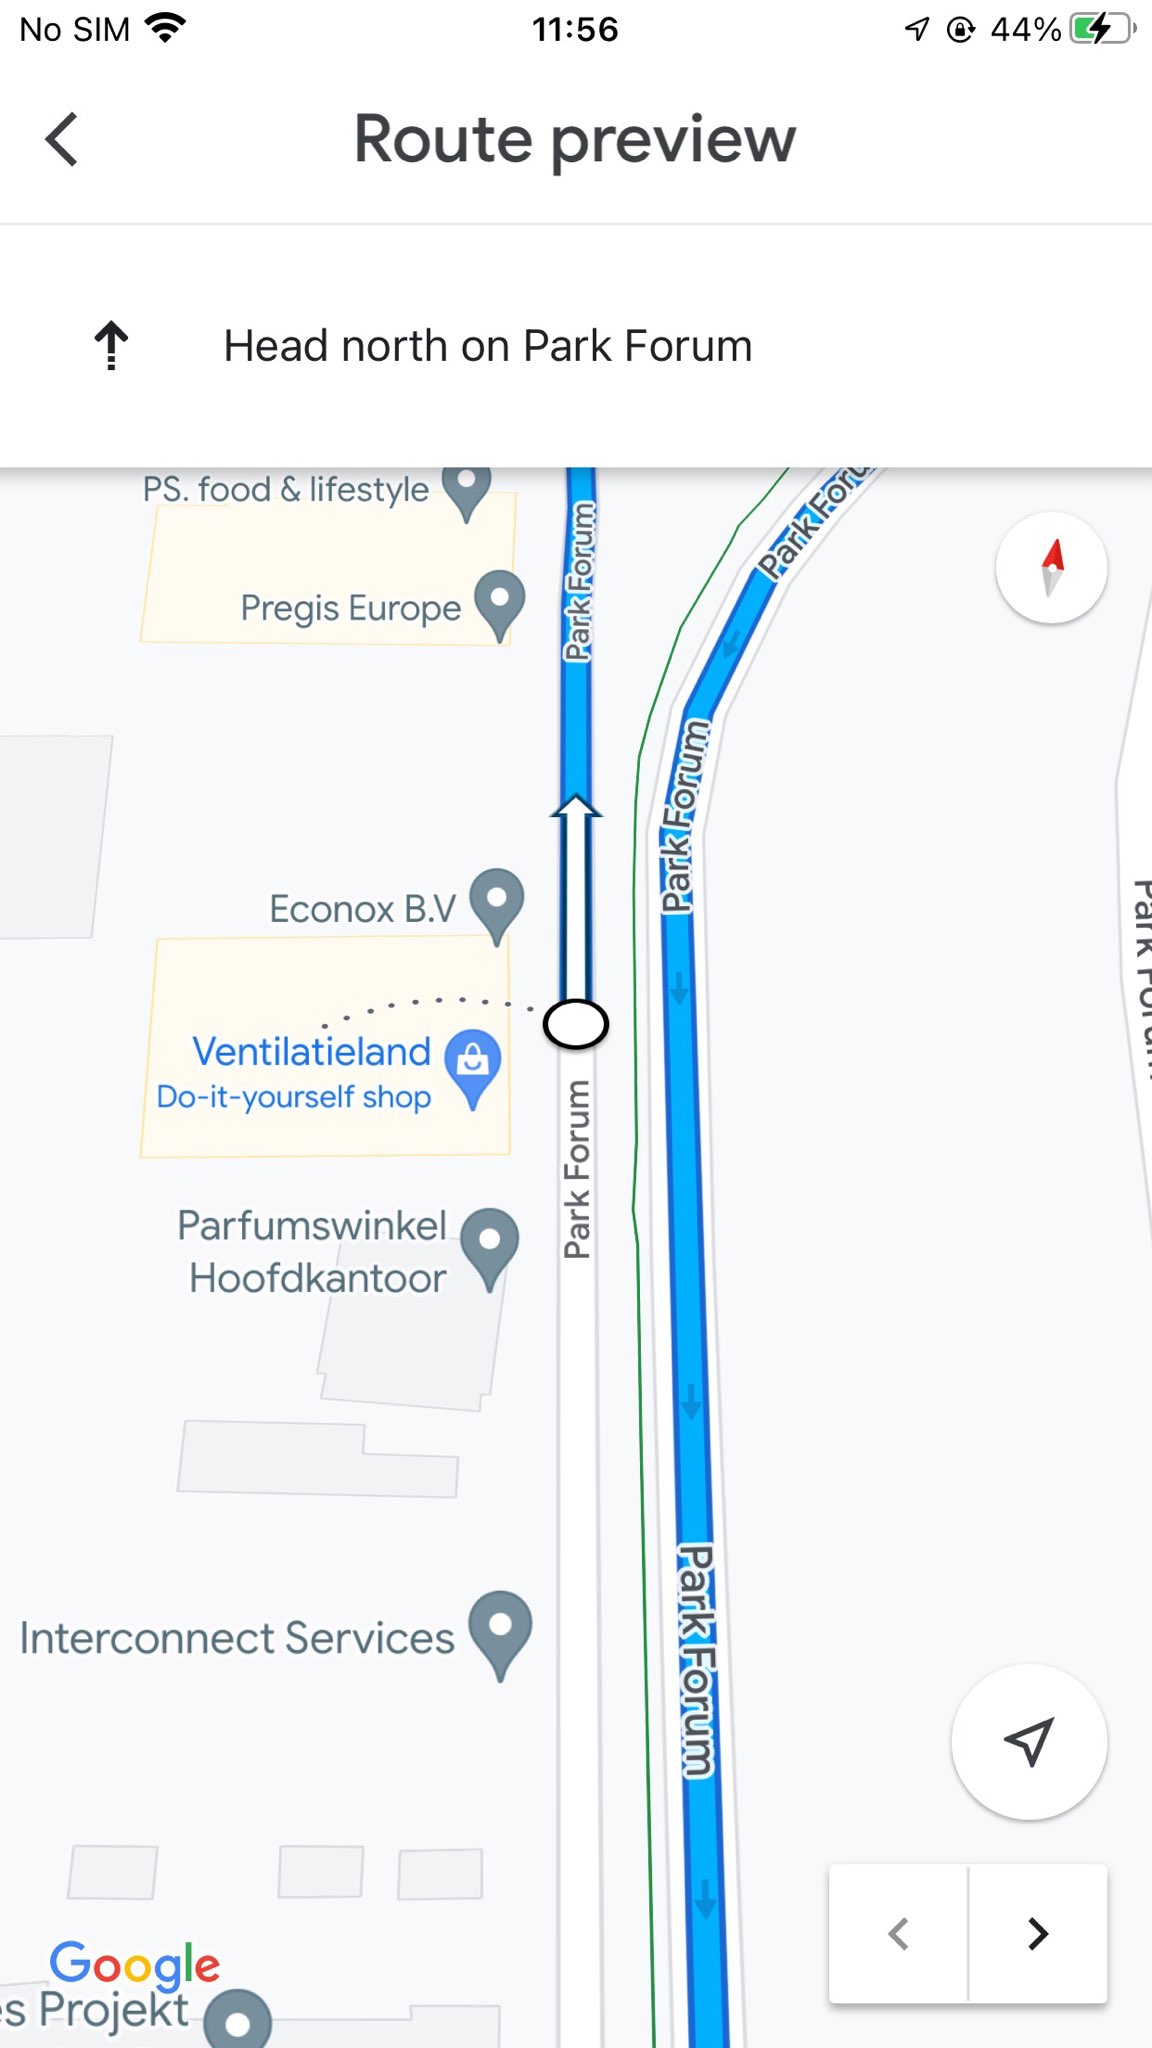
Also, you can see the preview of a route from the pickup to the destination locations.
After that, when you arrive at the destination and drop off the passenger, you can double-click on the Double Tap When You End Trip button to end the trip.
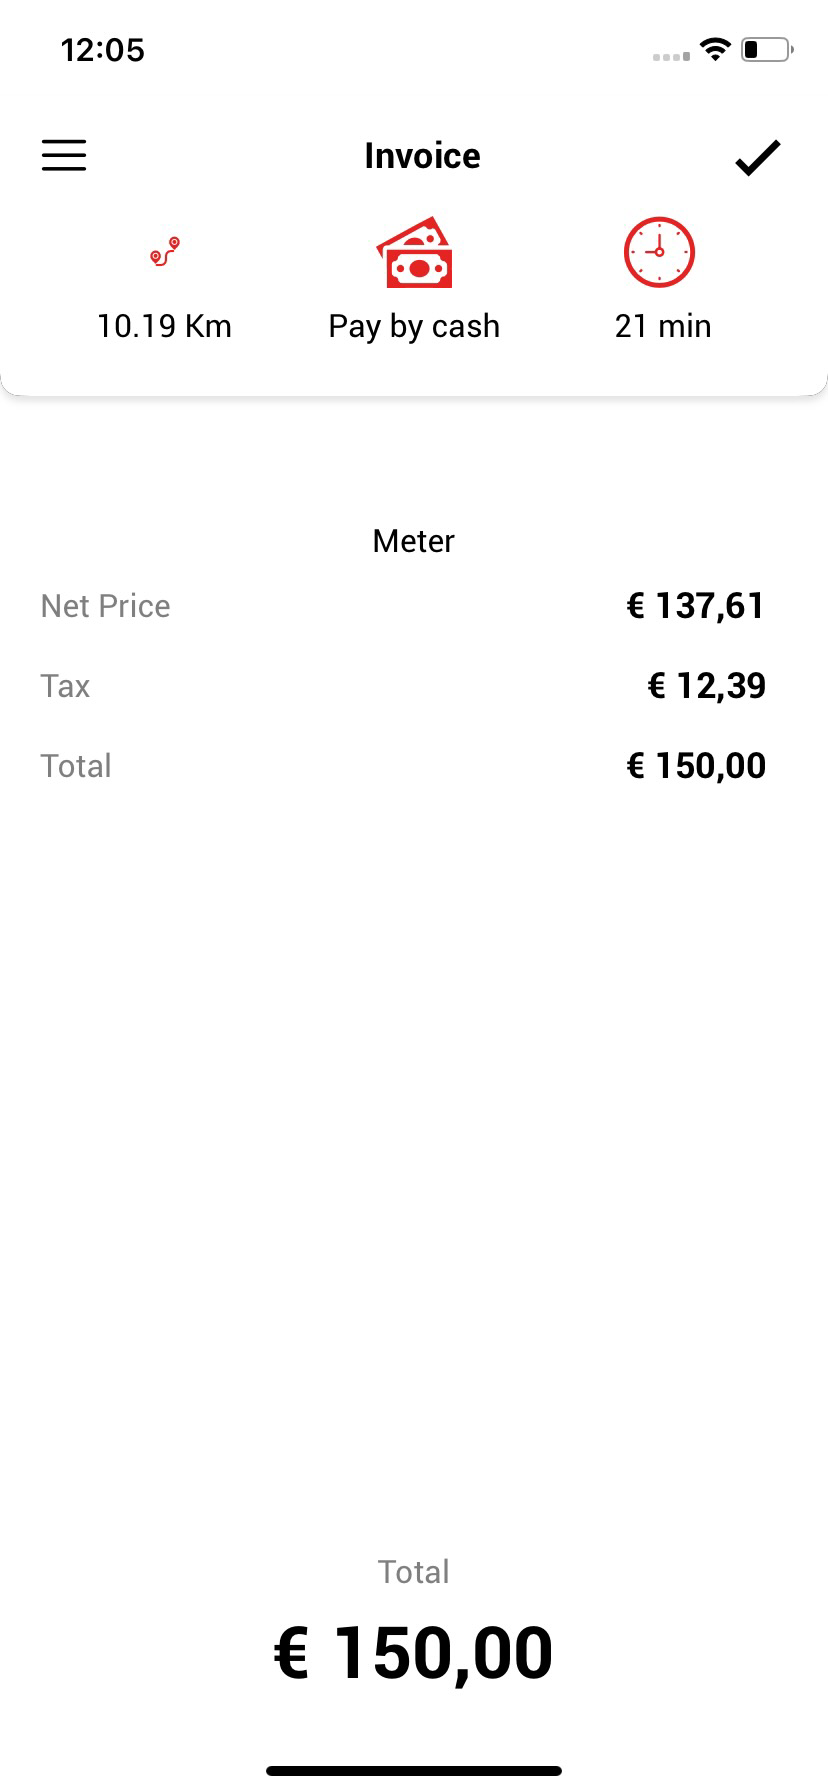
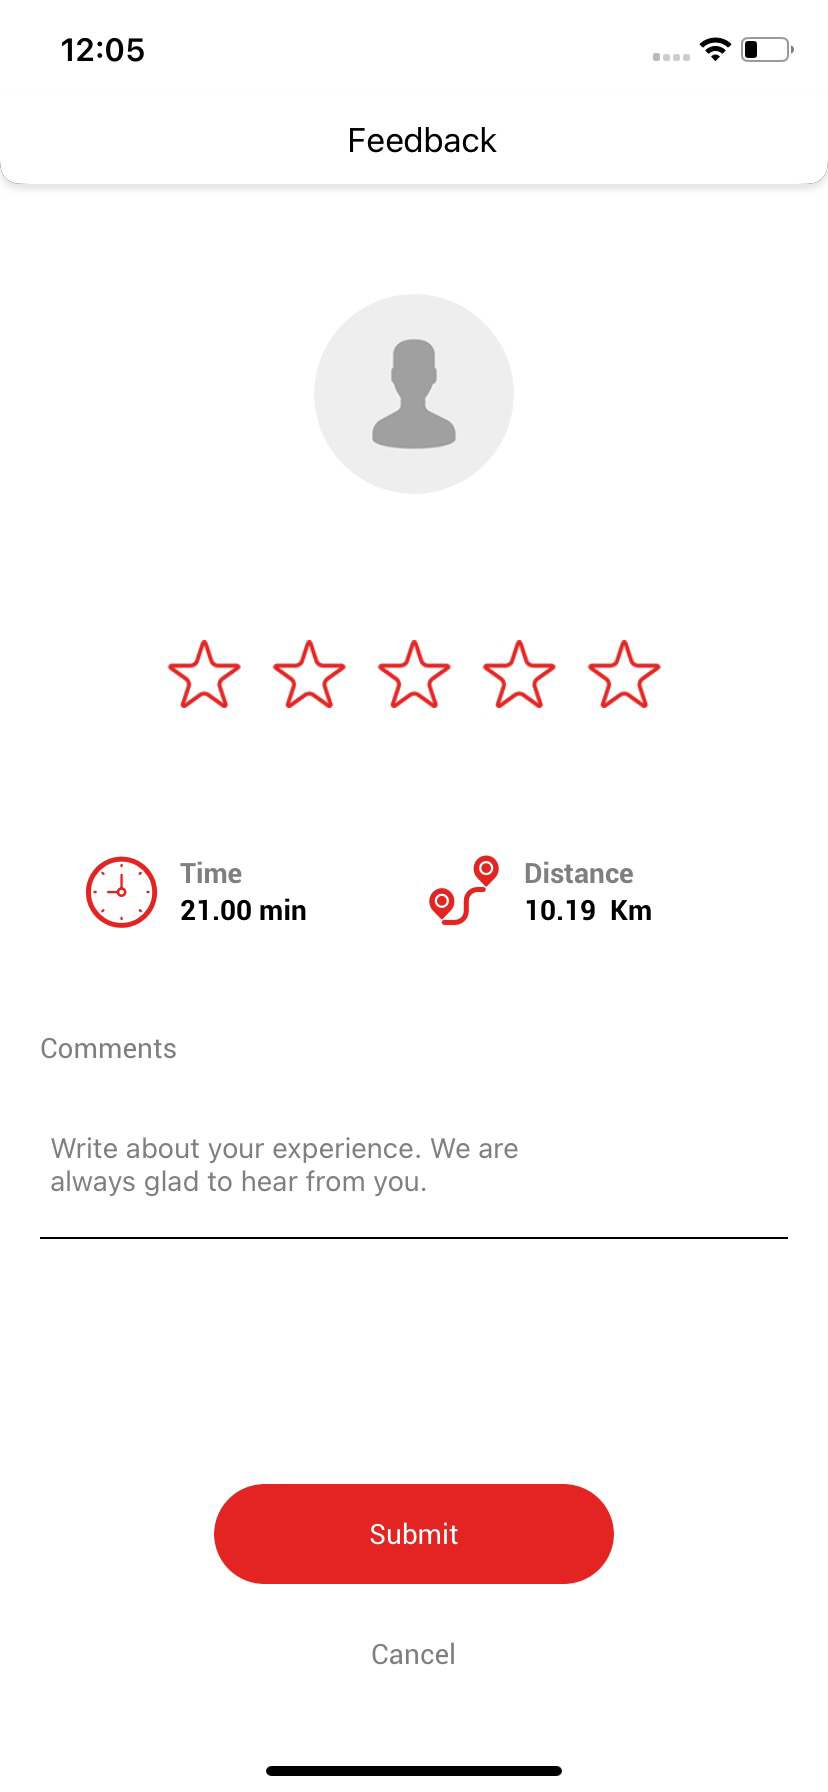
After you finish the trip, the Invoice will be generated with the Trip Distance, Payment Method, Trip Time, and cash details like Net Price, Tax, and Total price.
Click on the Right button at the top right corner.
Then you can give Feedback on the overall trip with the Stars and Comments, then click the Submit button, and you are done. (Feedback is not mandatory; you can click the cancel button to return to the homepage.)
If you want to close any of the trips for any reason, you can do it from the driver application.
Note: A trip can be closed only with the application.
Furthermore, if you start a trip and in between the trip, you need to close it by any cause, then you can do that too.
Following are the steps to Close a Trip,
Click on any trip details from Pending or Upcoming trips in the Booking section.
After that, you can see the screen as per the below image.
Click on the Start button at the page’s top right corner.
Then you can see a screen with Pickup Address and some trip details below.
There are two buttons at the bottom of the page, Tap When You Start and a button with a Cross symbol.
Here, if you want to start a trip, then you can click on Tap When You Start button, and if you want to Close a Trip, then click on the Cross button.
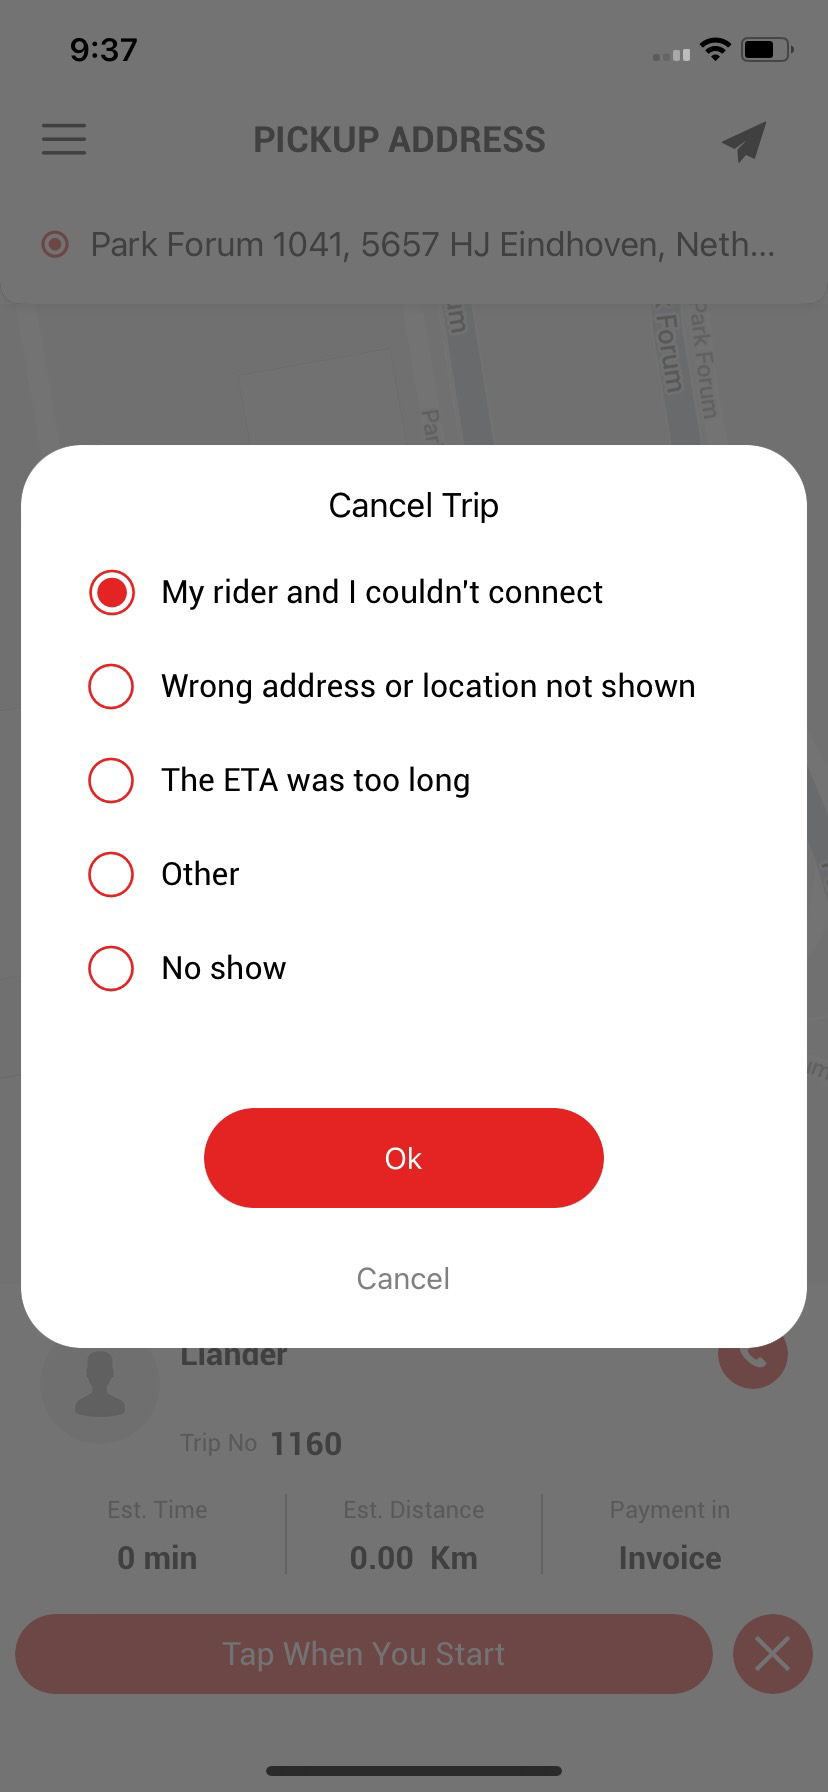
As soon as you click on the cross button, a pop-up will appear and display the following options to close a trip,
My ride and I couldn’t connect: You can click on this button if you can’t connect with your passenger for any reason and even after calling them too.
Wrong address or location not shown: Select if the addresses are wrong or you can’t see the real-time location.
The ETA was too long: ETA is the total estimated time of arrival. So, if ETA is longer than the predefined time, then you can select this.
Other: If you face any other causes, then you can select the Other option, and if you select this, then you need to specify the reason for cancellation.
No show: If the passenger isn’t shown themselves, then you can select this option, but you need to specify the cancellation reason or explanation in this option too.
Then click on the OK button to cancel or close the trip.
As you click on the Ok button, you will redirect to the homepage.
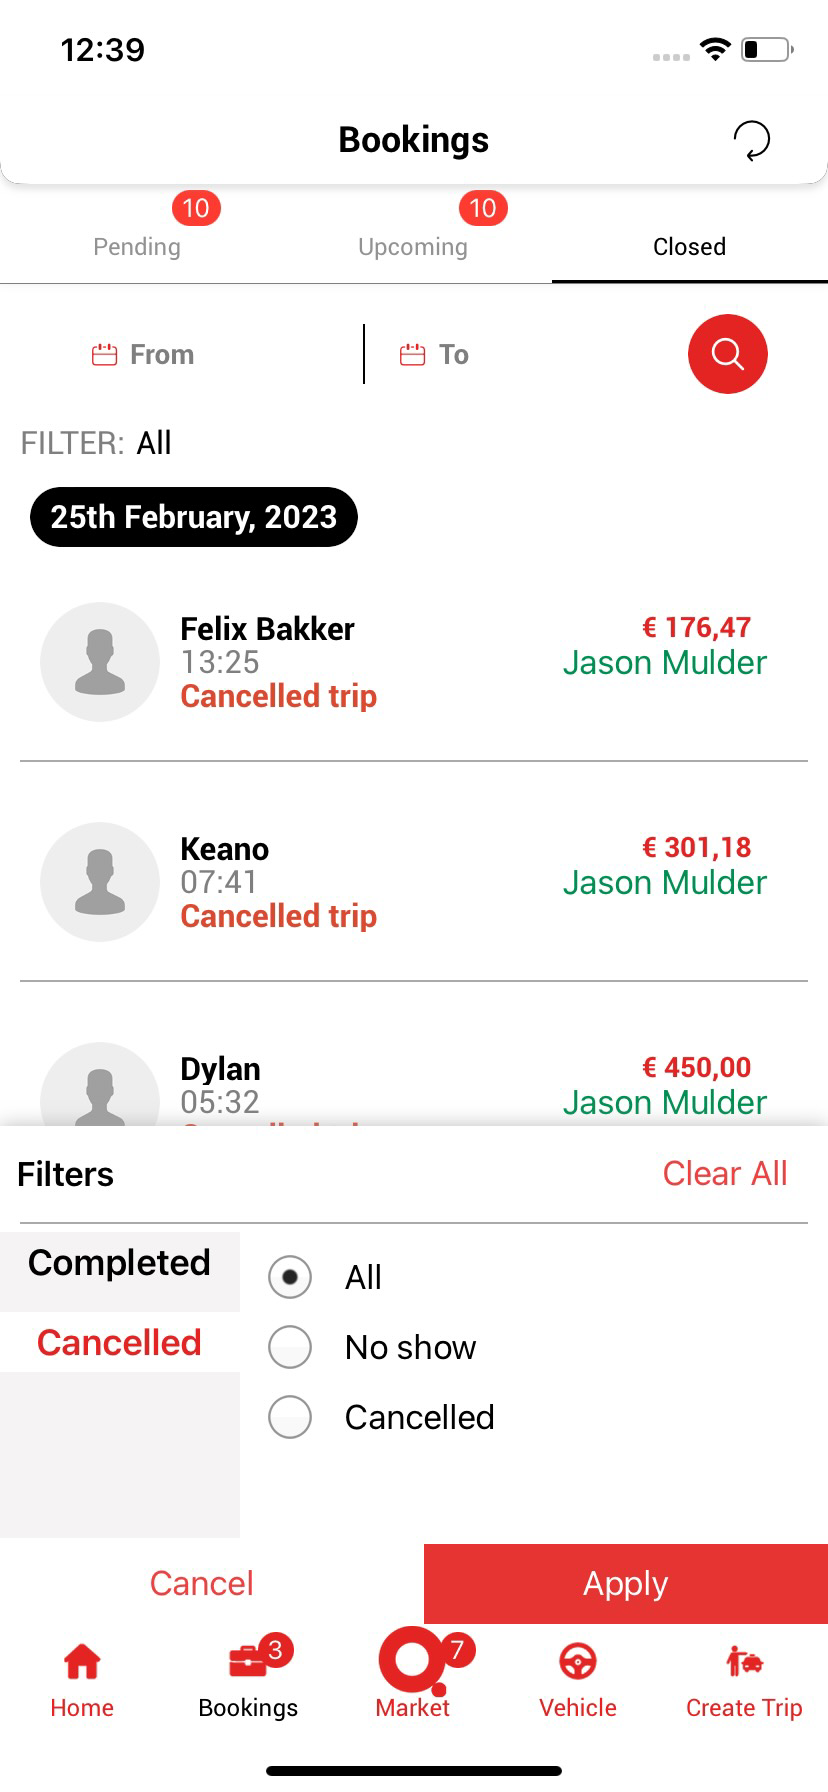
If you want to see all the canceled trip details, then you can see them in the Booking section’s Close tab.
Here you can check all the closed trips.
You can filter the data with the help of the Filter button at the bottom right corner of the page.
Also, you can check the closed trip history by clicking on the trip detail box.
You can check Closed Trip History, including trip date and time, pickup and destination addresses, total payable amount, map, estimated trip time, and kilometers of the trip.